Posts

Penetration Testing #1 - Network mapping lab from INE free course
Image
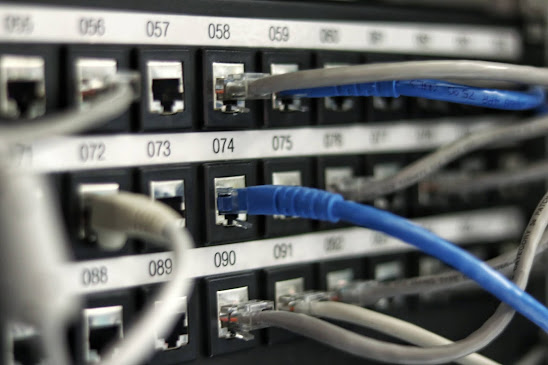
  Hello folks! I would like to present my new blog series about penetration testing! This cybersecurity path is mostly about breaking into networks. I have to admit that my knowledge in this particular field isn't as much developed as I would like it to be. Therefore, I've decided to join the  INE  free course from the penetration testing category. I've already done some tasks earlier, but from now on each lab solved by myself will be presented on my blog. So without further ado, I present you Scanning and OS fingerprinting  lab. I'm using probably the most popular operating system for the penetration testing art - Kali Linux. This distro brings a lot of useful tools for making the whole process of breaking into networks easier. Penetration testing is based on the circle of actions that should be done if we want to be successful in attacking targets. Here's how it looks like: In this lab, we are trying to accomplish the second stage of this "saint" circle ...

Learning of malware analysis. Solving 9-2 lab from the "OllyDbg" chapter. ("Practical Malware Analysis" book)

Image
  Hi again Obviously, today's topic is about advanced dynamic analysis again since I'm still in the same chapter as earlier. But each subsequent task should be harder and I hope that I will learn something new during today's analysis process. So now, let's "jump into catacombs". 

Learning of malware analysis. Solving 9-1 lab from the "OllyDbg" chapter. ("Practical Malware Analysis" book)

Image
Welcome! Firstly, I have to tell you that the name of the chapter that I'm gonna present to you is confusing. I will not use OllyDbg to solve the exercises since Immunity Debugger is my choice. ImmDbg has a better UI than OllyDbg because it has a dark scheme which is an important configuration for me. Beside it, Immunity Debugger is the same as OllyDbg, therefore, my decision was made because of the impressions of the dark scheme UI. :)  I'm happy that I can use a debugger since it's very useful in case of examining the complex code dynamically. Now I can simply run a debugger on the marked section of the executable code and look at the registers and memory dump - based on this information it's relatively easy to tell what an exemplary complex code really does. After the introduction, let's move on to the malware analysis of the first malicious program from the exercises.

Learning of malware analysis. Solving labs from the "Analyzing malicious Windows programs" chapter from the "Practical Malware Anlysis" book

Image
Hello! I have to tell you that this chapter was the best that I've read since the beginning of the book. The information and tricks presented in this part of the amazing lecture made me happy. I'm sure that the labs will be as exciting as the whole chapter and I'm looking forward to solving them. As the title suggests, "Analyzing malicious Windows programs" chapter is all about the Windows OS internals useful primarily for the malware writers and thus for malware analysts too. Without further ado, I bring to you my solutions for the labs. Enjoy!

Learning of malware analysis. Solving labs from the "Recognizing C Code Constructs in Assembly" chapter from the "Practical Malware Anlysis" book

Image
Hi there! The topic of the labs is fascinating. Recognizing C code constructs in Assembly is useful in malware analysis without any doubt. Therefore I am not going to use Ghidra disassembler since I would like to improve my skills in reading Assembly code, but in the real scenario, I would probably use Ghidra + IDA stack to analyze exemplary malware more quickly. Now I'm inviting you to deep into different malware examples and maybe learn something new with me. As we all know, the best way to learn something is to do this through fun, so I wish you a lot of fun while the malware analysis process just before we start. :)

Learning of malware analysis. Advanced static analysis labs from "Practical Malware Analysis" book

Image
Hello everyone! Finally, the time has come to improve our malware analysis process with  advanced static analysis  techniques. This type of investigating malicious programs contains reverse engineering of the suspected binaries and for now on we will be able to dig deeper into analyzed malware. I must admit that I missed this aspect before and now I feel free. I'm sure that from this moment malware analysis process will be more interesting as well as challenging. Without further ado, I bring to you my solutions of the advanced static analysis lab done using reverse engineering tool called IDA. So as always I invite you to read my solutions of tasks and wish you have fun while learning new things!

Learning of malware analysis. Basic dynamic analysis labs from "Practical Malware Analysis" book

Image
Hello everyone! This time I'm gonna show you how I've solved tasks from  the Basic Dynamic Analysis  chapter. Obviously, these labs are provided by "Practical Malware Analysis" book written by Michael Sikorski and Andrew Honig. Basic dynamic analysis is a good second step in the whole process of researching malware. Basic dynamic analysis techniques can confirm the supposition of what malicious program really does. Of course, this type of examining malware isn't enough to get the whole knowledge about the structure of a malware. I'll describe more techniques as the book advances. Now I invite you to read my solutions and I hope that you'll learn something with me. :) Tools that I use in basic dynamic analysis: Process Monitor, Process Explorer, Regshot, ApateDNS, INetSim, Wireshark. I described them here ->  https://shizz3r.blogspot.com/2020/06/beginning-of-malware-analysis-adventure_19.html